3/8” grosgrain ribbon in 2 colours
1 locking brooch pin
1 googly eye (from any local craft store)
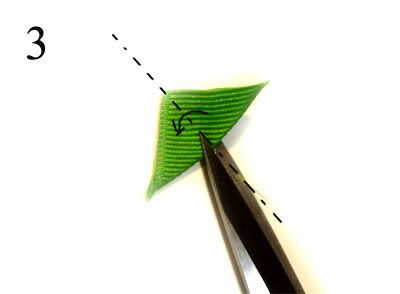
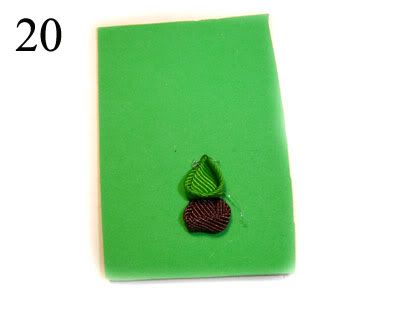
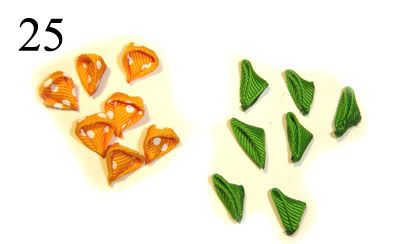
Cut out 3 pieces of each colour, 2 pieces of 1.5” and 1 piece of 1”. Cut the longer pieces to have an angled end as shown in the picture.

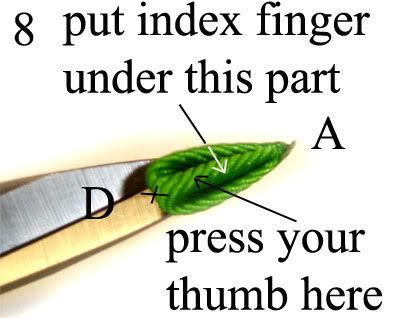
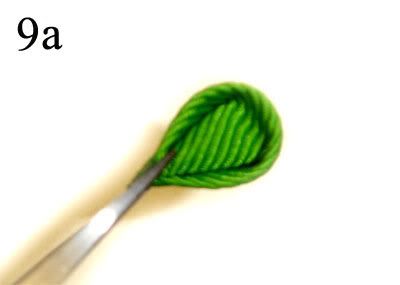
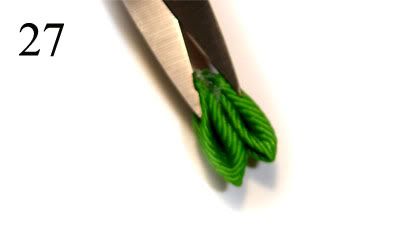
This fish is very simple. You’re going to glue the three pieces of one colour onto one of the longest pieces of the second colour by alternating long piece in front and short piece in the back, long piece in the front again

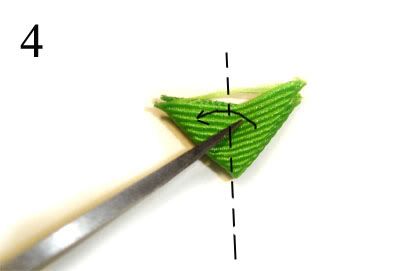
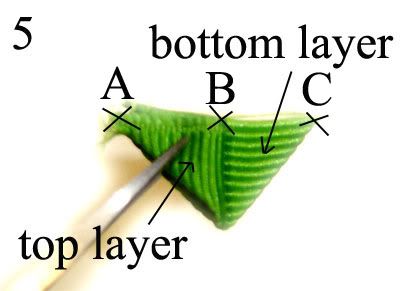
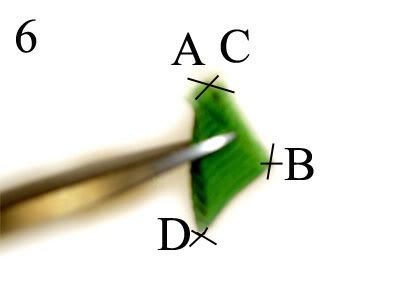
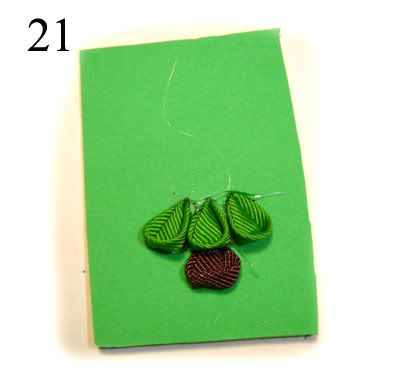
Then you will weave the second colour pieces in the same way. I glued each part where the ribbon intersected. Make sure your angled ends (which make the fins and tail) line up the same way.


from: HERE

7/8” grosgrain, cut into a 7” piece with spikes on either end

Cut your ribbon to 7” and cut a “V” on either end. Seal the edges with a lighter or wood burning tool. Cross the ends together to form an almost point, stitch through, cinch and tie off.


Use your 3” piece of ribbon and tie a knot in the middle. I usually just take the end of my ribbon tie a knot, leaving about 3/4″ on the end and then cut off leaving another 3/4″ on the other side of the knot.

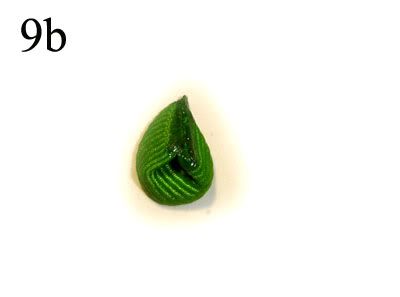
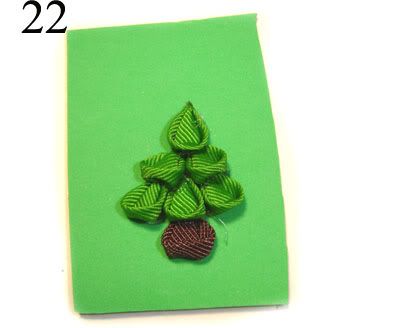
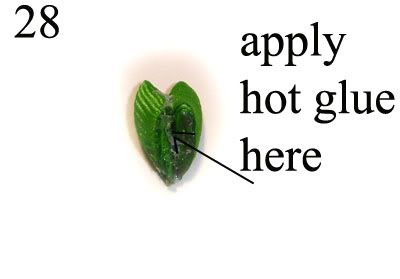
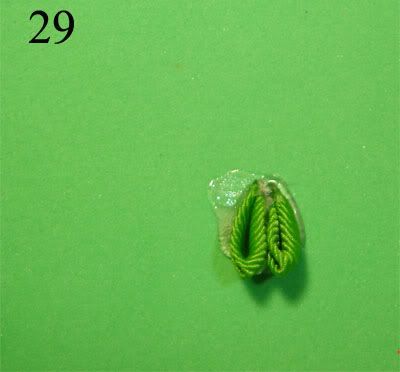
Your fish is now complete, just add the eye.

7/8” grosgrain, cut into a 7” piece with spikes on either end
3/8” grosgrain, same colour or coordinating colour, about 3 inches long
Locking brooch pin
Googly eye (from local craft store)
Needle and thread
Heat sealing tool and scissors
Cut your ribbon to 7” and cut a “V” on either end. Seal the edges with a lighter or wood burning tool. Cross the ends together to form an almost point, stitch through, cinch and tie off.
Use your 3” piece of ribbon and tie a knot in the middle. I usually just take the end of my ribbon tie a knot, leaving about 3/4″ on the end and then cut off leaving another 3/4″ on the other side of the knot.
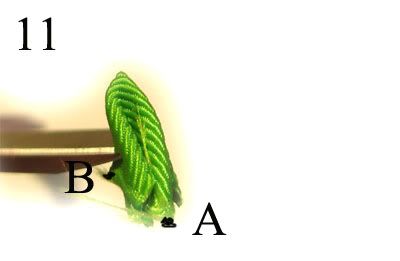
Glue one end of the ribbon knot to the brooch pin, glue that to the back of the fish, wrap around and glue the other end of the knot to the back of the fish. This step is the same as adding a knot centre to a bow.
Your fish is now complete, just add the eye.