
Before I begin, I have to say that I never realized how much I do not like my own hands until after I saw all these pictures...ugh...apologies in advance! I was not meant to be a hand model, that's for sure!
I love these loopy flower bows...they are great for spring and summer!
Materials:
Ribbon
 Layer 1--4 6" pieces of 3/8" ribbon (grosgrain works best, but you could also use satin)
Layer 2--5 7" pieces of 3/8" ribbon
Layer 3--6 8" pieces of 3/8" ribbon
Needle and thread
clip
embellishment for center of flower
hot glue gun
woodburner or fray check for ribbon sealing (could also use a lighter)
Heat seal all ribbon ends and keep the layer pieces separate. For each layer arrange the ribbon in the order you want them to be for your bow. Fold in half and insert your needle, but don't pull all the way through.

 |
| See my HUGE darning needle? A MUST have for this bow! |


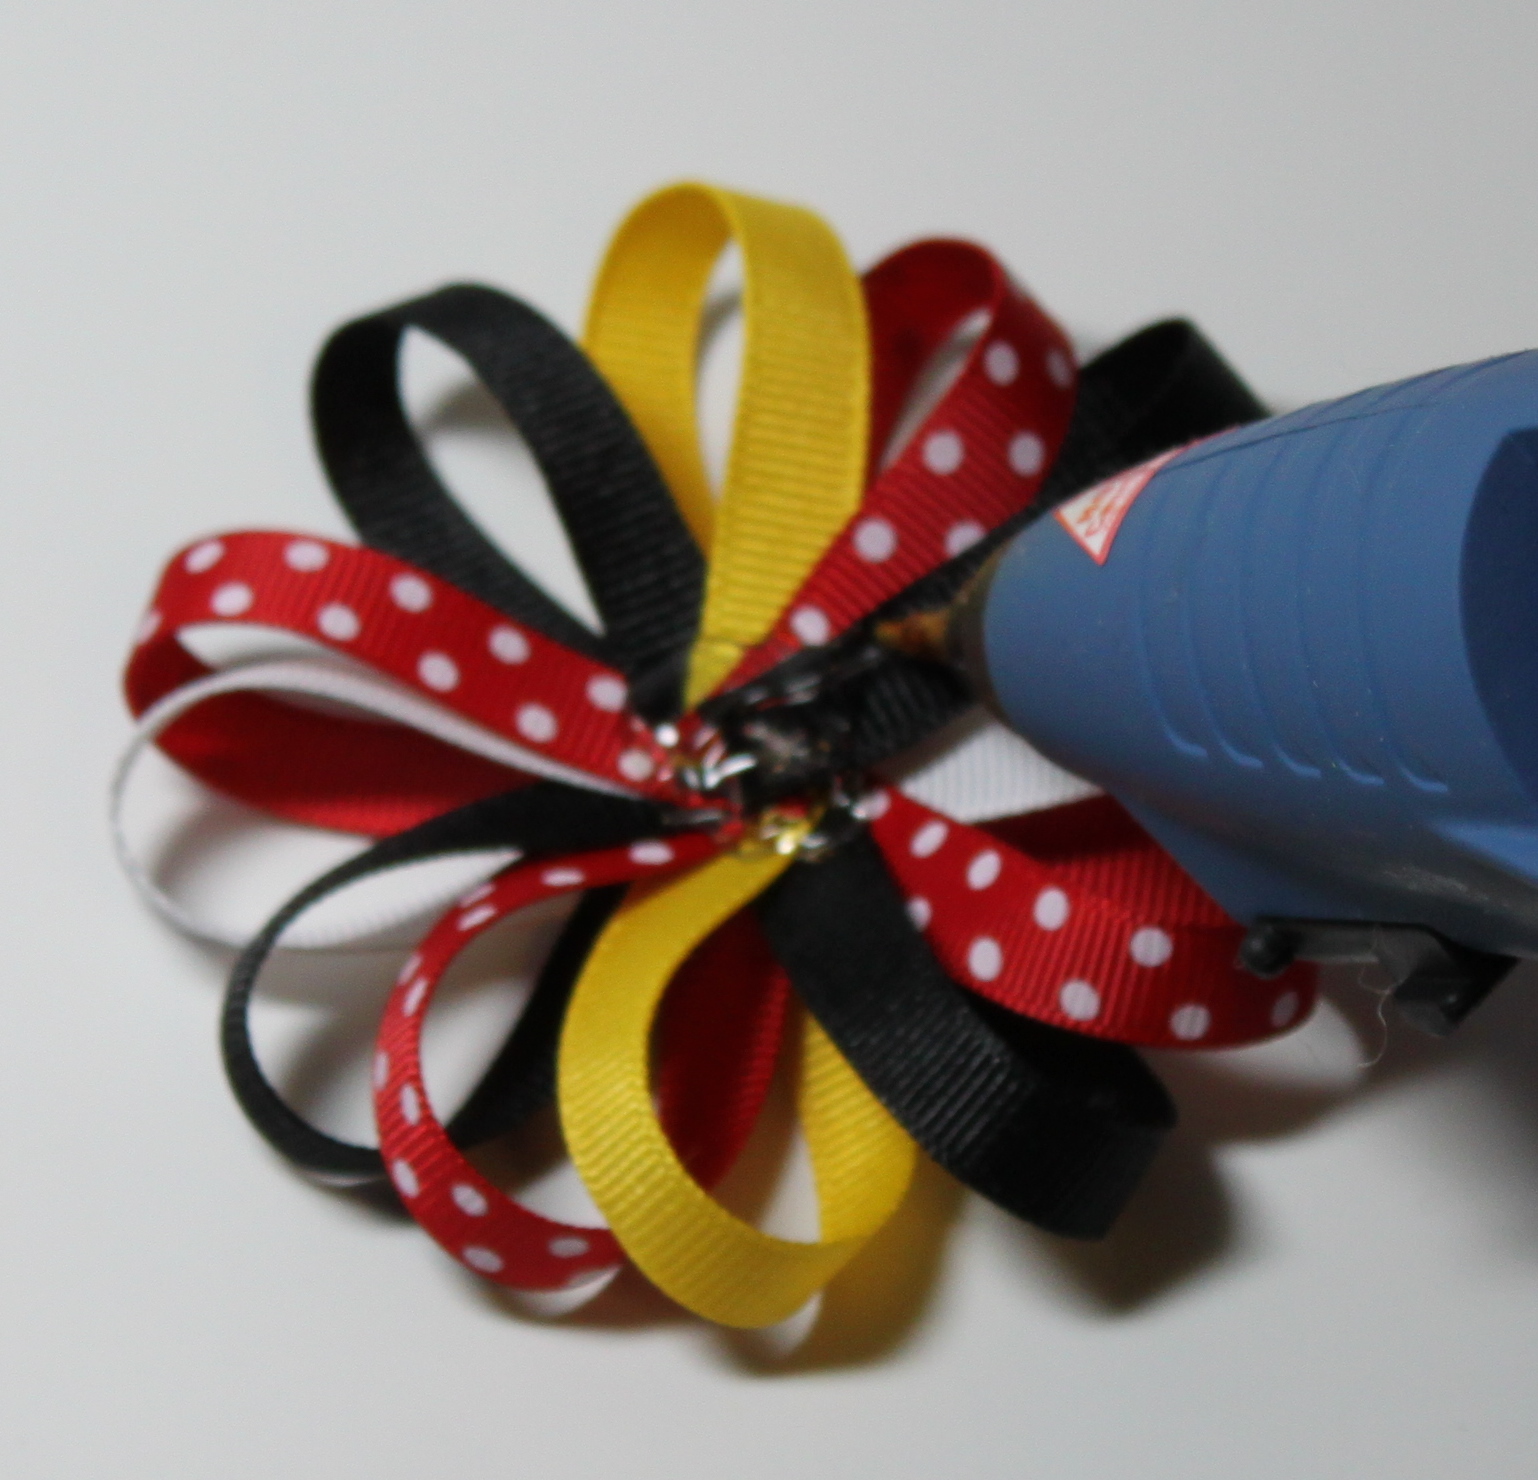
Fan your ribbon so it doesn't look stacked. Once all the ribbon ends are stacked on the needle, hold tight with one hand and use the other hand to go through all ribbon pieces a few times. Knot the ribbon, while still holding tight.


Repeat this for each layer.

Arrange so that the colors are evenly spaced. Apply an ample amount of glue to the center of each layer and begin to stack the layers.


me pudieras mandar en español las medidas para la elaboración de estas cosas maravillosas que presentas
ResponderEliminar