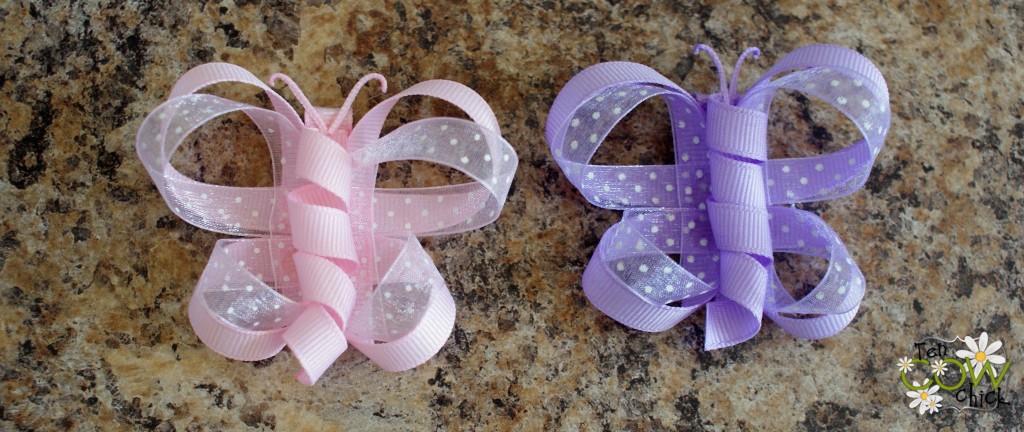
I’m back! And I made some butterfly bows. Do you want to make some? Let me show you how.
Step number one: Open the laundry room window and breath in all that springtime air. Ahhhhh! Macey’s at school, Maddy’s down for a nap and the laundry’s going in the washing machine. My favorite time of time of day! Okay, on to the butterfly bows for reals this time.
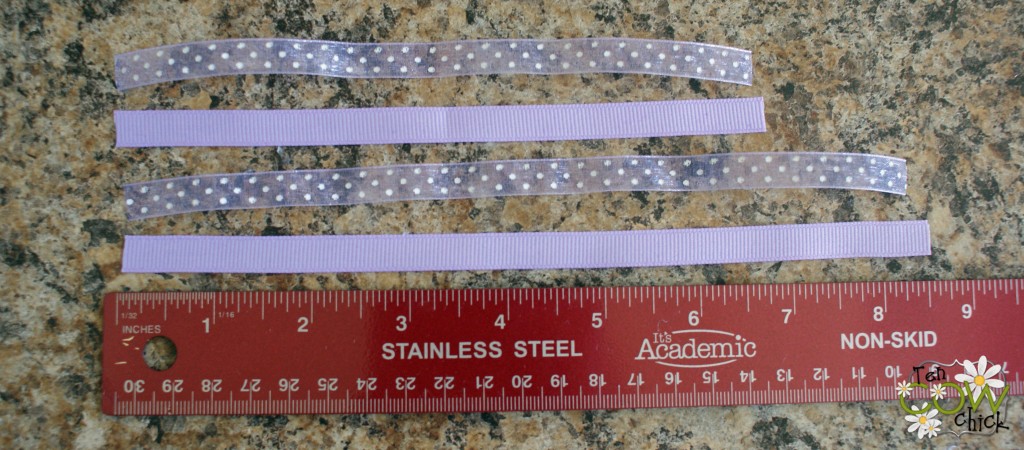
Alright, cut two pieces of ribbon 8.5 inches and two pieces 6.5 inches.
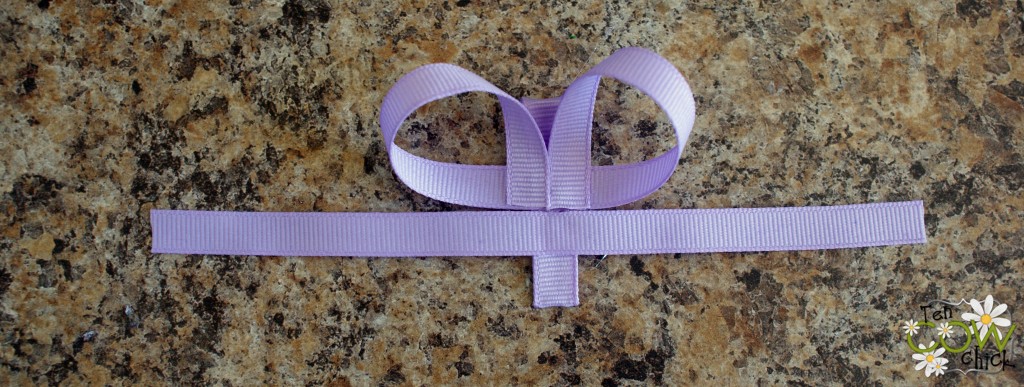
Line a hair clip with ribbon (you can get them at Sally Beauty Supply). Then take your 8.5 inch piece of ribbon and fold it in half. Pinch it in the middle and that way you know where the center of the ribbon is. Hot glue the center of the ribbon to the hair clippy.
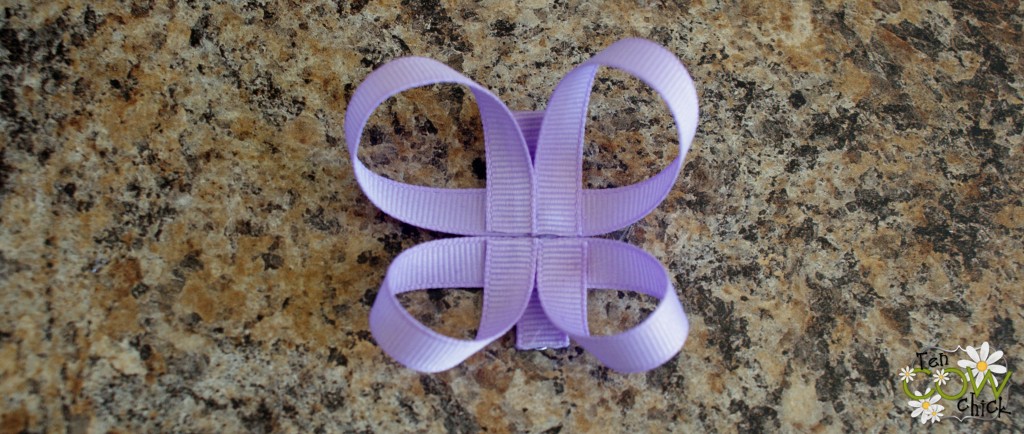
Now take the ends of the ribbon and loop them around and glue them down. So that’s the top half of your butterfly.
Now do the same thing to make the bottom half of your butterfly with the 6.5 inch piece of ribbon.
And it will look like that.
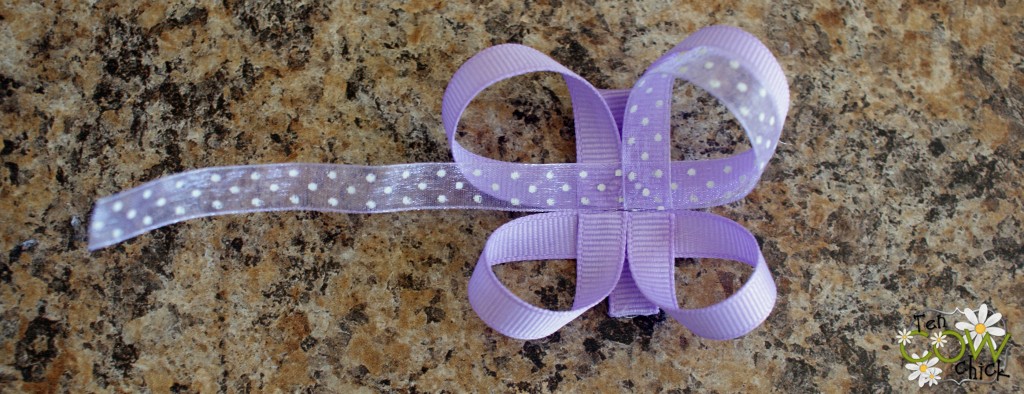
Now take your sheer pieces of ribbon and glue them over the top of the other ribbon.
Cute, now it has fluttery wings!
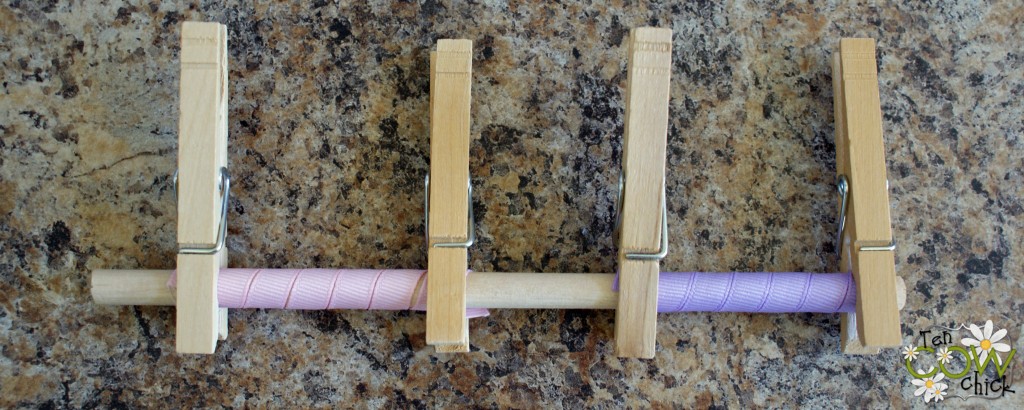
Now let’s make the body. Take about seven inches of ribbon and wrap it around a dowel. A preschool pencil works good too if you don’t have a dowel on hand. Put it on a baking sheet and bake it at 275 degrees for 20-25 minutes.
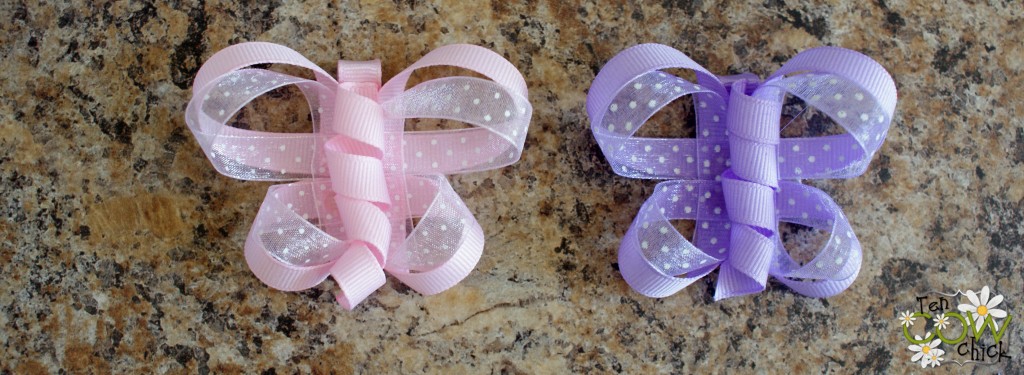
Cut your bodies to the right size and glue them down the middle. This is hard to do without making it all skiddywampus. So just do your best, I’m sure your little girl won’t care if it doesn’t look perfect.
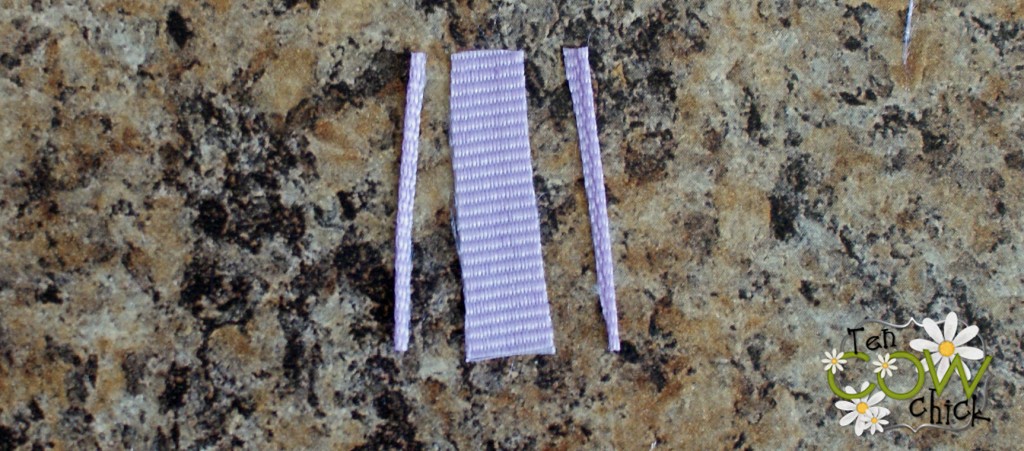
The very last step is to make antennas. Or antennie or whatever. Cut off a one inch piece of ribbon and then cut the edges off. Hold the edges over a flame and it will make them curl over. Glue them on to the top of your clip and your all done!
From:




No hay comentarios:
Publicar un comentario
Gracias por comentar!!!