
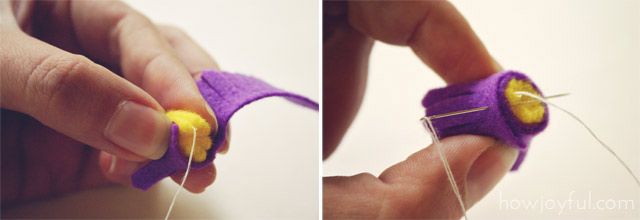
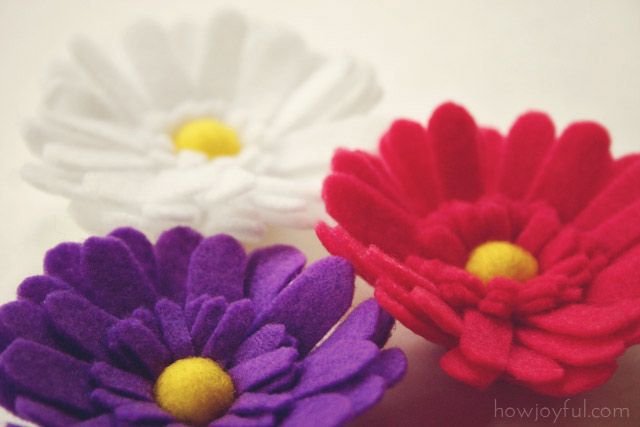
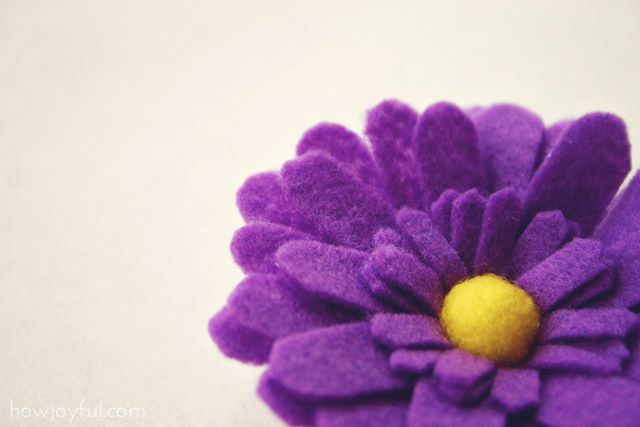
As for the small petals in the center, I cut one of the edges with a zig-zag scissors and then made vertical cuts along the width. Roll it around the center piece and stitch to secure it.
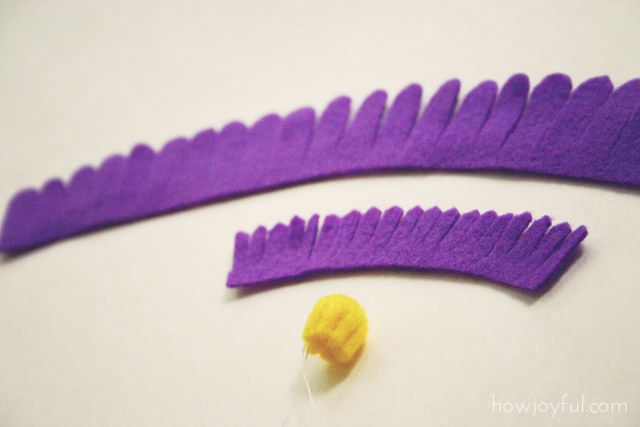
As for the large petals make 1/3 inch vertical cuts along the width, and then round the edges. If this sounds too hard you can just download the template and mark the petals along the 12 inch length of the felt piece.
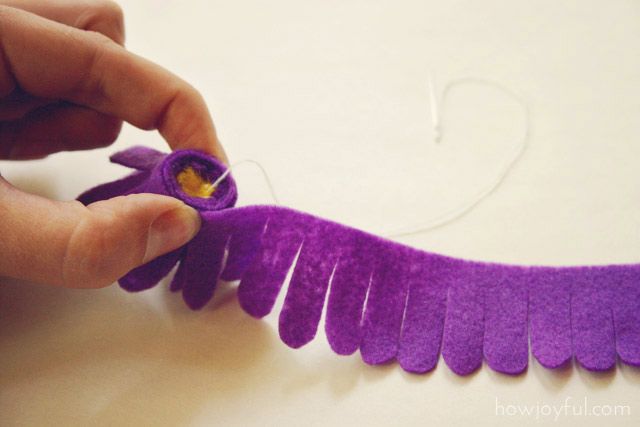
Roll it around the center and the small petals piece once it’s all rolled, secure by sewing around it. If you’d like you can replace the sewing by using a hot glue gun, but it depends on what you want to use the flowers for, if you’d like to wash them at some point I would recommend you to use thread and needle instead of hot glue gun =]
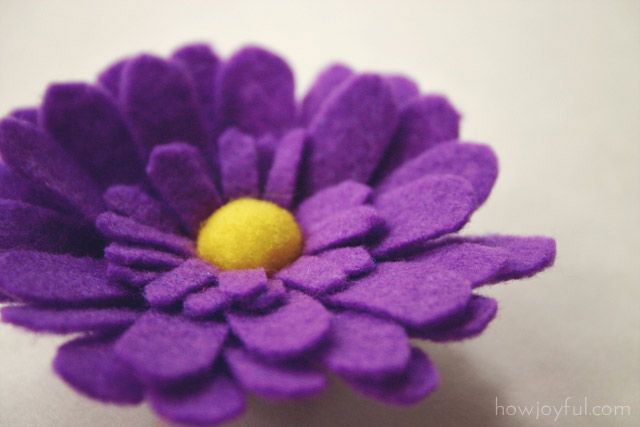
I hope you all enjoy making these pretty flowers. We have only one more felt flower to go and then we will move to another material. Felt is so much fun, maybe I will throw in an extra felt project before we move on, just for the fun of it! I hope you all have a wonderful day =]
* This tutorial is provided for personal use only. If you wish to sell items made with this tutorial please purchase a limited production license.
Check the Site policy at the bottom for further information, Thank you!
Check the Site policy at the bottom for further information, Thank you!


No hay comentarios:
Publicar un comentario
Gracias por comentar!!!